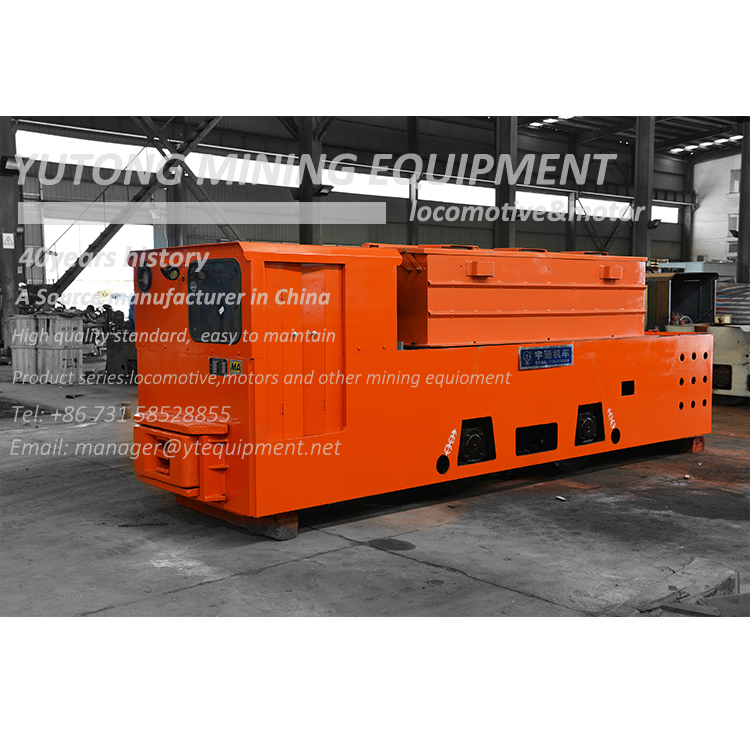
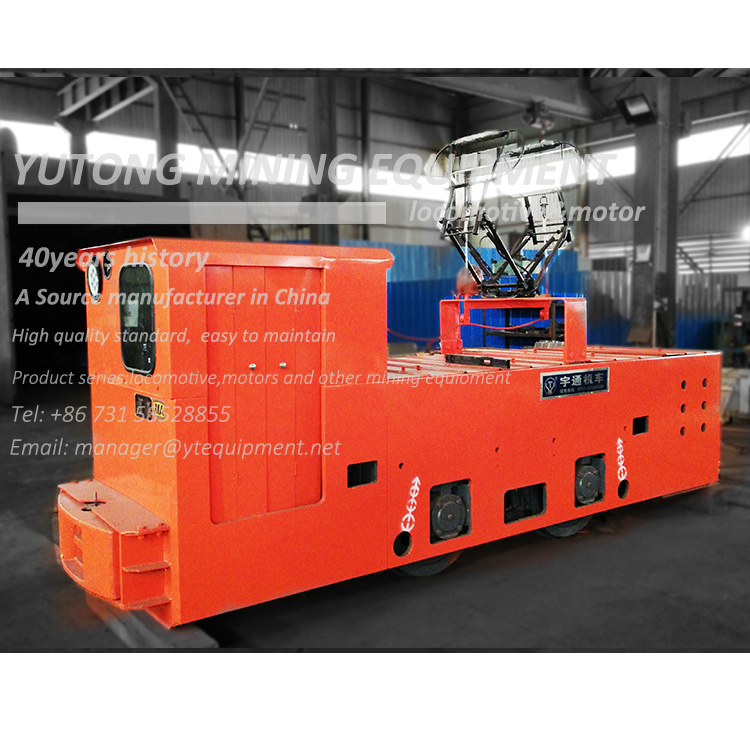
Locomotive, Wired Locomotive Operation Manual
Date:2021-08-04
Many customers often don't know how to "turn on" the locomotive when using the electric / wired locomotive for the first time. Then briefly introduce how the electric car "opens", "stops" and "accelerates" according to the operation of the locomotive. Manual operation can effectively reduce the damage rate of the locomotive and improve the life of our locomotive!
First, the start and operation of the locomotive and general regulations
1. Firstly, manually release the pantograph rope to raise the pantograph, close the automatic switch, and press the light switch to make the light turn on the power and emit light. At the same time, pull the air compressor motor control switch to let it inflate. At this time, according to the direction in which the locomotive is going to run, pull the reverse handle on the driver controller so that its position is consistent with the position to be operated. Rotate the brake handle in the counterclockwise direction to make the handwheel brake relieved. Move the main control handle and turn it clockwise. It should be noted that the handle should avoid staying too long between positions, or click into it. A few, on the flat road, the handle moves faster, as the ramp increases, the handle movement should be correspondingly slowed down. When the main handle is in the position of 1~8, the motor is connected in series, allowing 4 long-term operation at 8 positions. When the main handle is at 9 to 13, the motors are connected in parallel, allowing the handle to stay in the 13 position for a long time. It is strictly forbidden to push the handle from 0 to 13 at a time, and it must be pushed in step by step.
2. The running locomotive, such as the main handle, returns to the “0” position. At this time, the locomotive is in the inert running state (ie, the power is off). When deceleration is required, the main handle is pulled to the “brake” position. Resistive braking will brake the locomotive to slow down the running speed of the locomotive. However, if it is a long ramp, the resistance braking must be accompanied by both the hand brake and the air brake. To suspend the locomotive, use air. Brake and handwheel brakes.
3. When the driver leaves the locomotive, he should take the reverse handle and turn the brake handwheel clockwise to make the locomotive brake. The next time you get on the bus, you should first put the handwheel brake in a mitigating state and then proceed with the above procedure.
Second, the locomotive stops
1. When the locomotive needs to stop, use the handwheel brake or the foot pedal valve to perform aerodynamic braking. At this time, the main handle of the driver controller must be placed in the "brake" position or "zero" position. It is strictly forbidden to use the reverse driving method to implement the brake.
When the locomotive needs to run in reverse, it must also be stopped after the locomotive is stopped before operating the reverse operation, otherwise the electrical equipment will be damaged. When braking on a long ramp, do not use the resistor brake alone for a long time.
2. When the braking force is too strong, there will be a sliding phenomenon when the brake shoes are locked. At this time, the braking distance is increased. For this reason, the braking should be quickly relieved, the coasting should be stopped, and then the brakes should be restarted. At this point, sand should be applied to increase adhesion and stop sliding.
3. When the mechanical brake operation is abnormal and cannot be reliably braked, the brake system should be stopped to check all parts of the brake system to eliminate the fault in time. If the brake system is faulty, the locomotive is not allowed to run barely.
4. When the driver is operating the locomotive, the locomotive speed should be well controlled according to the slope of the line, the weight of the traction and the required stopping distance to ensure that the locomotive is stopped safely and reliably. It is not allowed to reverse the current to reverse the locomotive.

